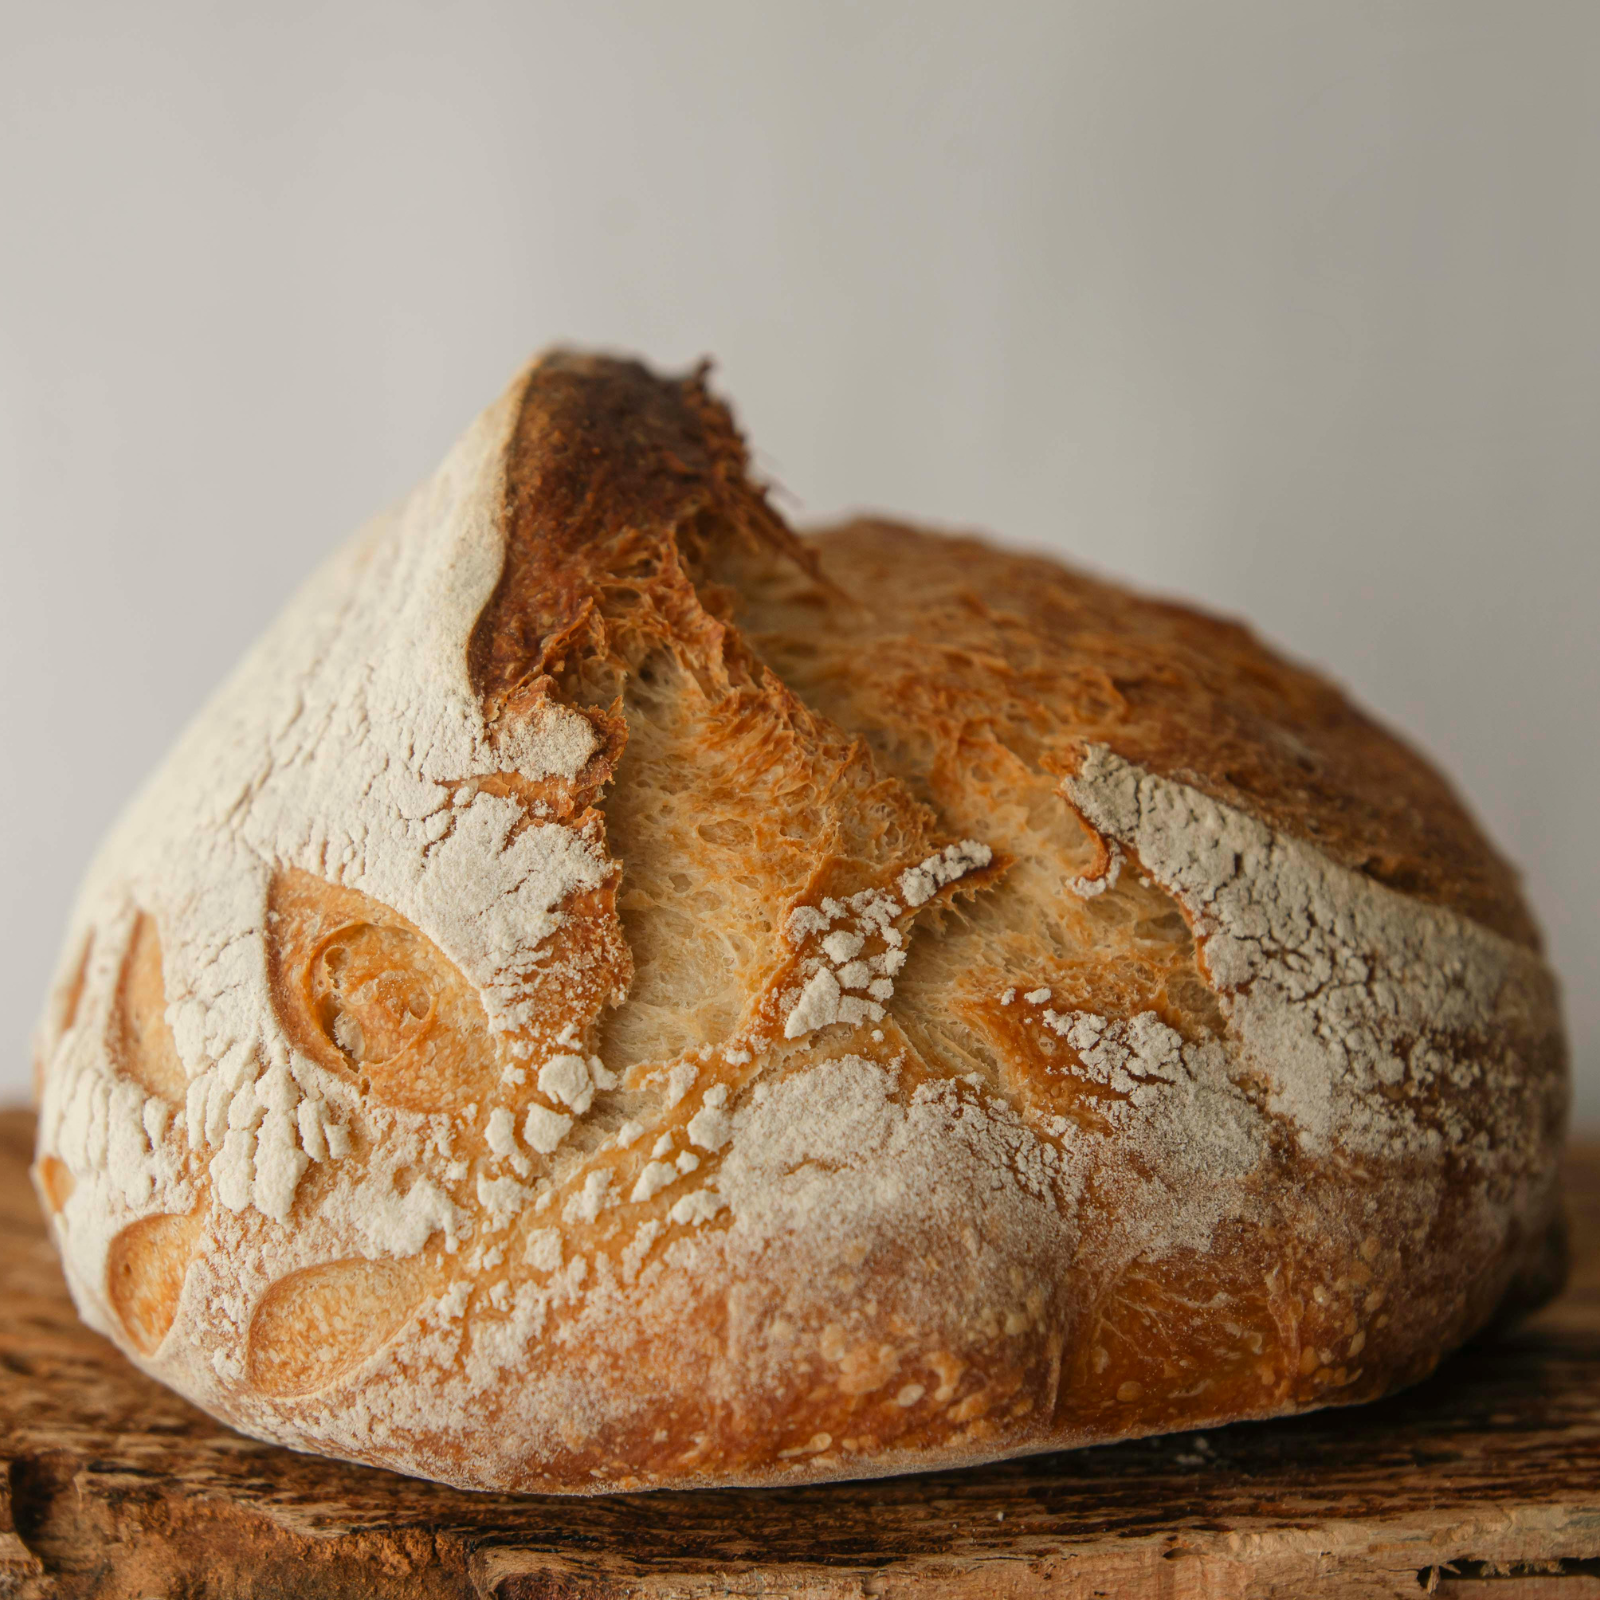
How to Bake Sourdough with a Crispy, Crunchy Crust

Perfecting Your Sourdough Crust: Tips for a Crunchy Exterior
There’s nothing quite like the sound of a knife slicing through a crackly sourdough crust. It’s one of the most satisfying parts of baking—and something every sourdough baker eventually obsesses over (in the best way).
But if your crust has been turning out pale, soft, or chewy, don’t worry. With a few intentional tweaks, you can level up your loaves and bake bread with that coveted golden, crispy shell.
Here are my favorite tips for perfecting your sourdough crust—straight from my kitchen to yours.
🔥 1. Use a Preheated Dutch Oven or Baking Stone
Crust begins in the oven. The hotter the environment when your loaf hits the heat, the better the “oven spring” and crust formation.
✅ Always preheat your Dutch oven or baking stone for at least 30–45 minutes at 475°F before baking. That initial burst of heat encourages the dough to rise quickly and sets the crust in place.
💧 2. Create Steam for a Better Rise and Shine
Steam is key in the first part of baking. It allows the crust to stay soft just long enough for the dough to fully expand—then it crisps up as the steam fades.
Ways to create steam:
- Bake in a Dutch oven with the lid on for the first 20 minutes
- Add hot water to a preheated metal tray at the bottom of the oven
- Or (yes!) lightly mist or rub water over your loaf before baking
(Some bakers even run their hands under water and swipe across the surface—this can help if you’re not using a Dutch oven.)
⏳ 3. Extend the Second Fermentation (Cold Proof)
Want deeper flavor and a crustier crust? Try extending your second fermentation (after shaping) by proofing in the fridge overnight (or up to 72 hours).
This long, cold proof:
- Helps the surface dry slightly, which encourages crust development
- Adds complexity to flavor and structure
- Makes scoring easier
- Reduces the likelihood of over-proofing
After cold proofing, you can bake straight from the fridge (no need to bring the dough to room temperature).
🌡️ 4. Bake Uncovered for the Last 20–25 Minutes
If using a Dutch oven, remove the lid after 20 minutes and continue baking for 20–25 minutes. This is when the crust gets its signature color and crunch.
Want it extra dark and crisp?
Crack the oven door open for the last 5 minutes to release excess moisture.
🍞 5. Let It Cool Completely
Tempting as it is to slice right in, the crust continues to set as the loaf cools. Let it sit for at least one hour after baking.
Trust me—it’s worth the wait for that crackle. 🙌
🥖 Final Thoughts: Crust Goals Achieved
Perfecting your sourdough crust is part science, part patience, and part joy.
With heat, hydration, and time on your side, you can bake loaves that are as crunchy as they are beautiful.
Whether you’re just starting out or troubleshooting a loaf that’s a little too soft, these tips will help you get that artisan-level finish right from your own oven.

Written by Rachael DeBoy
More From This Category

Which LifeWave Patch Supports Your Health Goals?
Explore the best LifeWave patches for your wellness goals. From energy to pain relief to faster recovery, discover which patch is right for you and how to combine them effectively.

Which LifeWave Patch Supports Your Health Goals?
Explore the best LifeWave patches for your wellness goals. From energy to pain relief to faster recovery, discover which patch is right for you and how to combine them effectively.

Which LifeWave Patch Supports Your Health Goals?
Explore the best LifeWave patches for your wellness goals. From energy to pain relief to faster recovery, discover which patch is right for you and how to combine them effectively.

0 Comments