Beginner: Guide to Baking Your First Sourdough Loaf

Mastering the Art of Sourdough: A Beginner’s Guide to Baking Your First Loaf
Baking sourdough isn’t just about making bread; it’s a journey that connects you with one of the most ancient forms of baking. With just flour, water, salt, and time, you can create a loaf that’s rich in flavor, healthy for your gut, and satisfying on every level. I know firsthand the joy—and challenge—of mastering sourdough. After years of baking with my 12-year-old starter, I’ve learned that patience, practice, and a little bit of guidance are all you need to get started.
If you’re ready to experience the magic of sourdough for yourself, here’s a beginner’s guide that will walk you through the essentials, from starting your own sourdough culture to baking your first loaf.
Why Sourdough?
When I first started baking sourdough, I was captivated by its simplicity and the deep connection it brings to traditional baking. Unlike commercial breads, sourdough is naturally leavened, meaning that it relies on wild yeast and lactic acid bacteria (naturally present in flour and the air) rather than store-bought yeast. This process creates a unique, tangy flavor and a wonderfully chewy texture. Not only is sourdough delicious, but it’s also easier to digest and more nutrient-dense than many store-bought breads.
Step 1: Starting Your Sourdough Journey
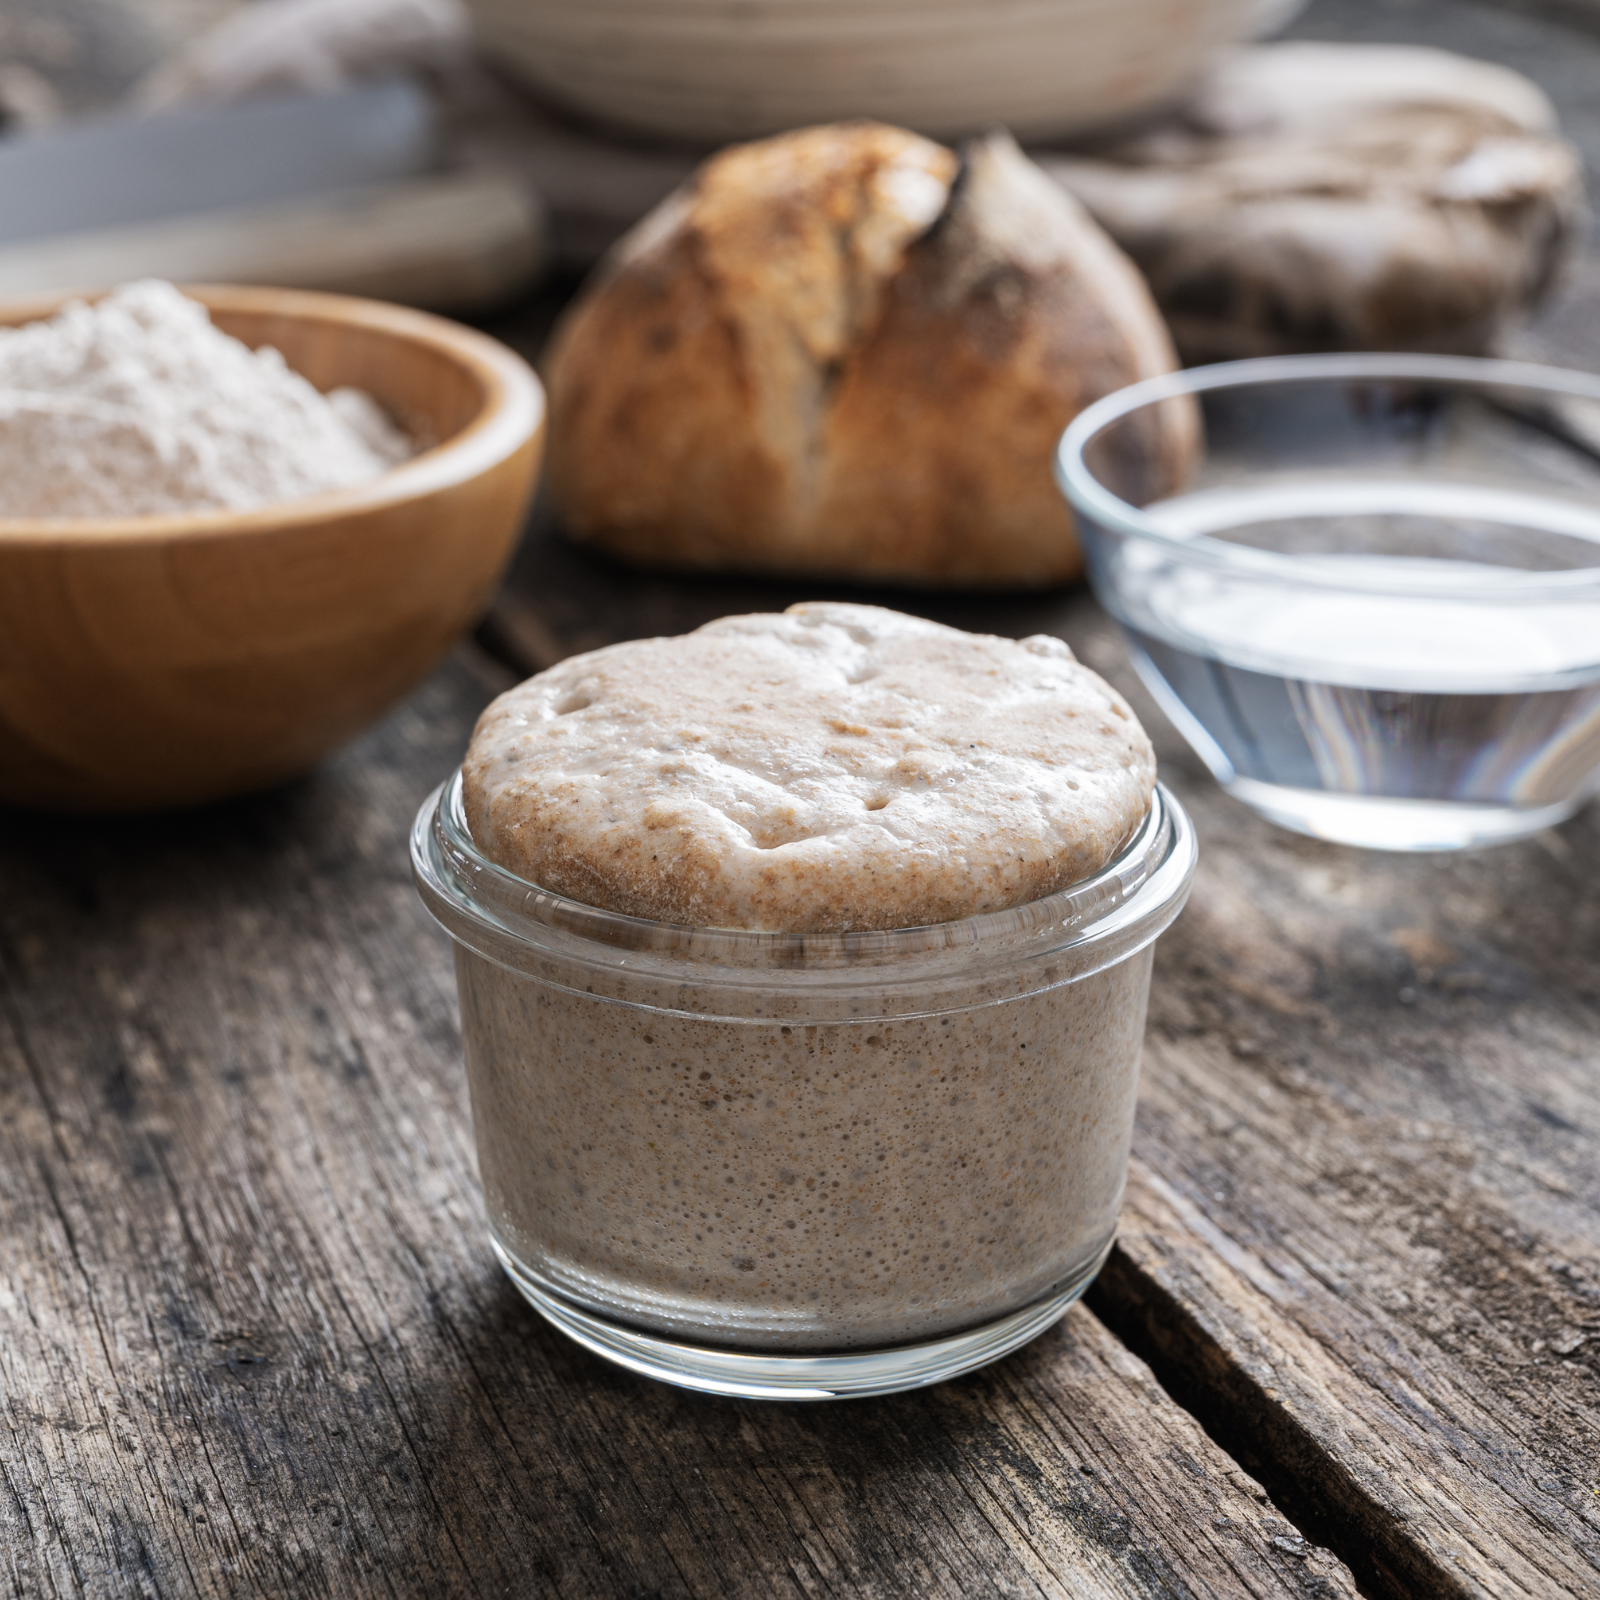
The first step in baking sourdough is creating or obtaining a starter. Your starter is essentially a mixture of flour and water that captures wild yeast and bacteria from the environment, allowing it to ferment over time. It’s the “living” part of sourdough, and once it’s mature, you’ll use a portion of it to rise your dough.
Since I started baking with sourdough over two years ago, I’ve kept my starter alive and healthy, feeding it regularly to ensure it’s always ready for the next loaf. With the right care, your starter can live for years, becoming richer in flavor as it ages. If you’re up for the challenge, you can create your own starter at home with just flour and water.
Step 2: Building a Routine with Your Starter
A sourdough starter needs consistent care, which includes feeding it with fresh flour and water to keep it active. Here’s a basic feeding routine to get you started:
- Discard and Feed: Each day, discard half of your starter and add equal parts flour and water (usually 1/4 cup each, but it varies based on your starter’s size).
- Observe: After feeding, your starter should start to bubble and rise, usually within 4-8 hours. This means it’s active and ready for baking.
- Store: If you’re not baking every day, you can keep your starter in the fridge and feed it once a week.
When I began this journey, it was a learning curve to figure out how to fit feeding and baking into my daily routine, but it’s now something I look forward to. There’s a sense of satisfaction in maintaining this living culture and watching it grow with each feeding.
Step 3: Preparing Your First Dough
Once your starter is active and bubbly, it’s time to mix your first dough. Here’s a simplified process to get you started:
- Mix: Combine your starter with flour, water, and salt. This is the foundation of your dough, and it’s where the magic of sourdough begins.
- Autolyse: Let the dough rest after mixing. This step allows the flour to fully hydrate, making the dough easier to work with and improving the final texture.
- Stretch and Fold: Every 30 minutes over the next 2-3 hours, gently stretch and fold the dough in the bowl. This strengthens the gluten and develops structure in your loaf.
- Bulk Fermentation: After your folds, let the dough rest at room temperature to rise. This can take 4-6 hours depending on temperature and starter activity.
- Shape and Proof: Gently shape your dough into a round or oval loaf, then let it rest again, either in the fridge overnight or at room temperature for a few hours.
I remember the first time I went through these steps; it felt both exciting and challenging. Each step taught me something new about patience and precision. Over time, I learned to appreciate the beauty in the process and trust the dough’s natural rhythms.
Step 4: Baking Your Loaf
The final step is baking, where all your efforts come together. To get that perfect crusty exterior, bake your loaf in a Dutch oven (or similar covered pot) to trap steam. Here’s how:
- Preheat: Heat your oven with the Dutch oven inside at 450°F (230°C).
- Score: Gently score the top of your loaf with a sharp blade. This allows the dough to expand in the oven.
- Bake: Carefully place the loaf in the preheated pot, cover, and bake for 20 minutes. Then, uncover and bake for another 20-25 minutes, or until the crust is golden brown.
The smell of freshly baked sourdough filling the kitchen is something you’ll never forget. And when you pull that first loaf from the oven, it’s an incredibly rewarding moment. It took me months to master the baking process, but with each loaf, I learned something new and gained confidence.
Tips for Beginners
- Be Patient: Sourdough baking is a slow process, but the results are worth it. Each step contributes to the flavor and texture of your loaf.
- Learn from Each Bake: Every loaf will teach you something, whether it’s how to adjust hydration or improve your scoring technique. Don’t be discouraged by imperfections; they’re part of the journey.
- Enjoy the Process: Sourdough baking is a mindful, rewarding practice. Take pride in each step and appreciate the connection to tradition.
Ready to Start Baking?
Starting with sourdough can feel intimidating, but remember, it’s a journey worth embarking on. My years of experience have shown me that with patience, a little guidance, and some practice, anyone can learn to bake a beautiful, flavorful loaf. I invite you to take that first step and begin your sourdough journey. There’s no better time to experience the joy of homemade bread and the pride that comes with mastering the art of sourdough.
If you’re interested in learning more, I also offer sourdough workshops where I guide beginners through each step of the process. Together, we’ll make sure your first loaf is just the beginning of a lifelong love for baking. Happy baking!

Written by Rachael DeBoy
More From This Category

Which LifeWave Patch Supports Your Health Goals?
Explore the best LifeWave patches for your wellness goals. From energy to pain relief to faster recovery, discover which patch is right for you and how to combine them effectively.

Which LifeWave Patch Supports Your Health Goals?
Explore the best LifeWave patches for your wellness goals. From energy to pain relief to faster recovery, discover which patch is right for you and how to combine them effectively.

Which LifeWave Patch Supports Your Health Goals?
Explore the best LifeWave patches for your wellness goals. From energy to pain relief to faster recovery, discover which patch is right for you and how to combine them effectively.

0 Comments